I’m glad that I have a solution (use a good camera and lens) for capturing 3D models – but I’m still trying to get the process matured – to the point where I could run a scan-and-print booth at a flea market. (not that I’m going to; I’d just like to be that good at it).
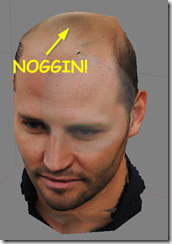
The Problem: No Noggin
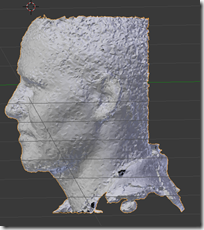
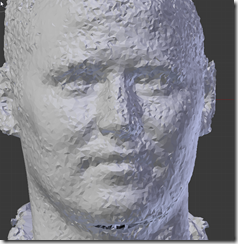
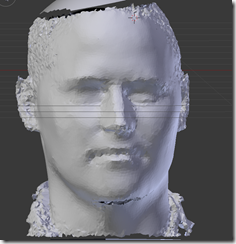
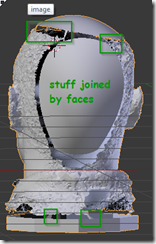
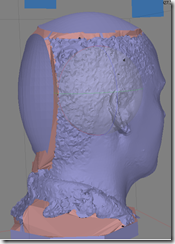
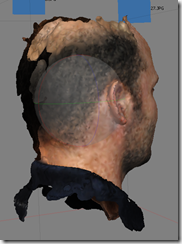 This is a DSLR Dan Scan with a Medium Dense Point cloud on Moderate (Ultra high didn’t really add to the detail). The top of the head is missing, and there’s a large seam in the back that is not filled. Also, the bottom isn’t a good base for a printed model.
The Solution: Blender!
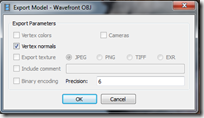
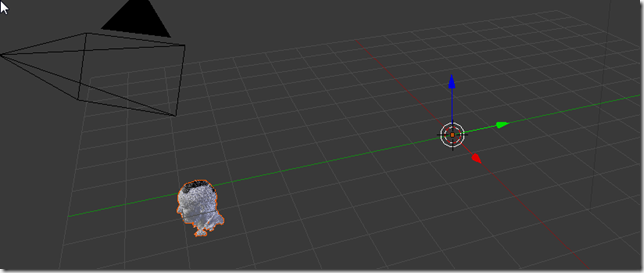
It is important to leave the model where it comes in – I have to export it at that exact spot in order for Photoscan to pick it up. Luckily, I can select the object and zoom to it using “.” on the keyboard. (Blender: shortcuts keys are dependent on which window is active, it has to be the 3d window for . to work)
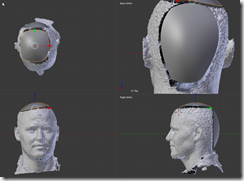
I then remove stuff from the model, and add in some more surfaces (NURBS surface shown here), to get the model closer to what I want:
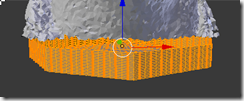
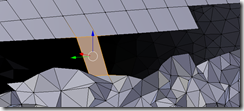
- a: I use perspective + border select + delete vertices to clear away an even cut which I will augment with a surface.
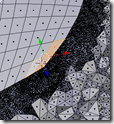
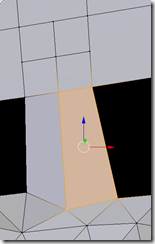
- b,c: I create (separate object) a NURBS surface with “Endpoint=UV”; I fit the outer borders first (so that there is a little gap showing) and then move the inner points (how much it sticks out) in; I try to ensure there’s always a gap between the actual model and it (easier to join later)
- d: For the base, I create a square (cylinder would have been better?), move the edges in, and then delete the top surface. I subdivide till it has the right “resolution”.
- I then convert NURBS to meshes; select the meshes; subdivide them to match resolution, and join them everything into a single mesh.
- e: Sometimes to avoid “helmet head” effects, I have to delete some of the edge faces of the former NURBS by hand.
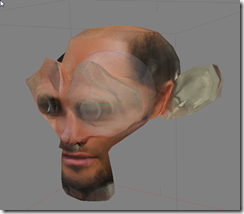
- f: Stark from Farscape.
Another touch-up I can do in Blender is to smooth skin surfaces using “Scuplt”:
Wrapping it up
I have to join the pieces together by hand *somewhere*, so that the holes have boundaries. Try to keep each hole in 1 axis. Notice how I subdivide the larger mesh so that the points line up. Don’t forget to Normalize faces outward when done.
I can then export the .OBJ back to disk, and in to Agisoft Photoscan, where I finish the hole-filling process. (I’ve tried filling the holes in blender, but I run into vertex normalization / faces being inverted problems.)
And then, we can build a texture, and Dan’s noggin won’t be left out.
And Now for Something Completely Different:
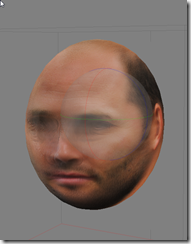
The other direction to go is to use a completely different mesh and see what happens:
We could also do a Minecraft version of Dan – by joining several rescaled cubes, and then building a texture around that. That would make for an excellent Pepakura model. However, I’m out of time on this blog post (1h24m so far), so I’ll save that for another day.
(after editing: 1h40m taken)
