I’ve been playing with “structure from motion” / “photogrammetry” apps for a bit. Lots of stuff still to figure out, but here’s a possible interesting path. Note that none of this is optimal – wrong camera, wrong print medium, etc – but its fun.
1. Start with a Video of walking around The Dude Abiding.
(His name is Joel, he’s one of my coworkers, he also teaches kids how to code)
2. Using VLC, play then Shift-S to snap, then plan, then Shift-S to snap, to extract a bunch of frames.
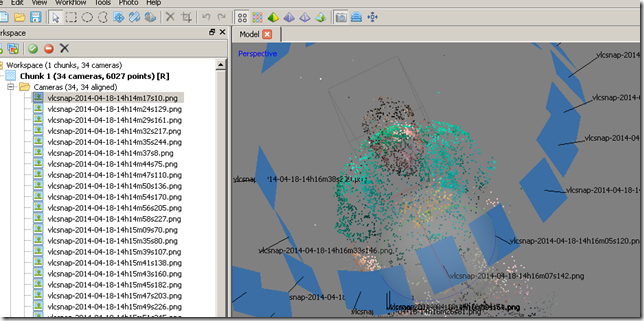
3. Load them into Agisoft PhotoScan ($179, or you could go 123D Catch from Autodesk, that one is free, but possibly less accurate?). Run “Align Cameras”, get point cloud.
4. Crop in the model box, hit Build Dense Cloud. This is where it starts to look really interesting.
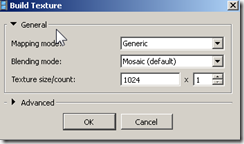
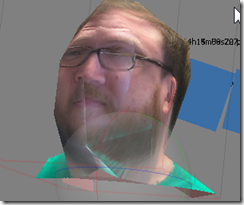
5. Build a Model .. Build Texture. This is what the result looks like at “medium” resolution:
Not the greatest, but that’s because of the camera I used (video compression = artifacting = bumps) plus camera lens distortion etc.
6. However, that doesn’t work for what we’re doing next. I don’t own a $10k color 3d printer. So instead.. paper!
Build a model at lower resolutions:
Don’t forget to close holes! (tools menu) … build texture…
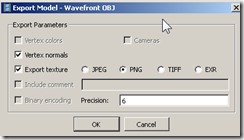
7. Export the model. This is the $179 pay for step in Agisoft PhotoScan.
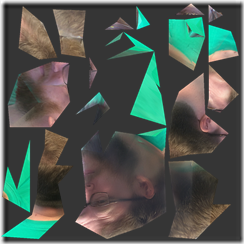
Note that this saves both a .JPG and a .PNG texture. JPG on the Left. I might be mistaken, but I think they were saved at the same time. Actually, the .JPG might be the overall “build me a texture”, and the .PNG is the “export my model to wavefront”. It’s a little freaky.
8. Load the .OBJ into Pepakura. $39, I totally plan to buy it.
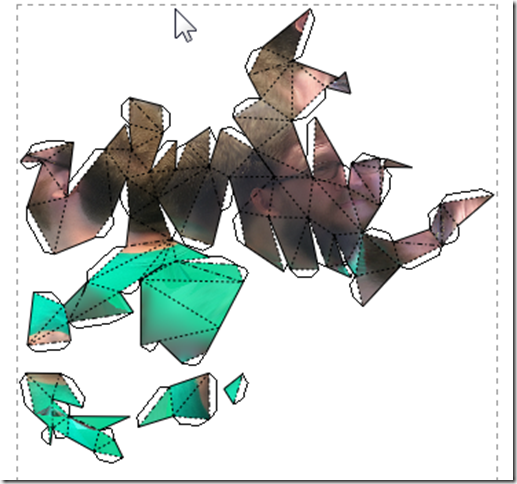
9. Unfold, and Print:
10. Print it out on cardstock, cut, and fold ..
I haven’t done this part yet.
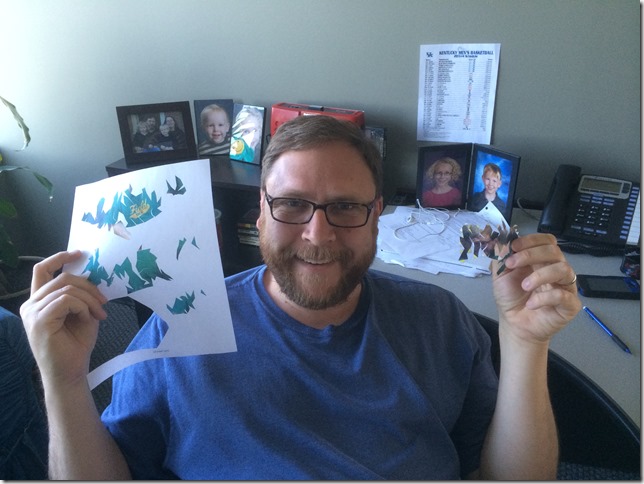
These screenshots were from my second attempt. Here is Joel holding my first attempt, which was 500 faces, a bit too complex:
