I did a thing.
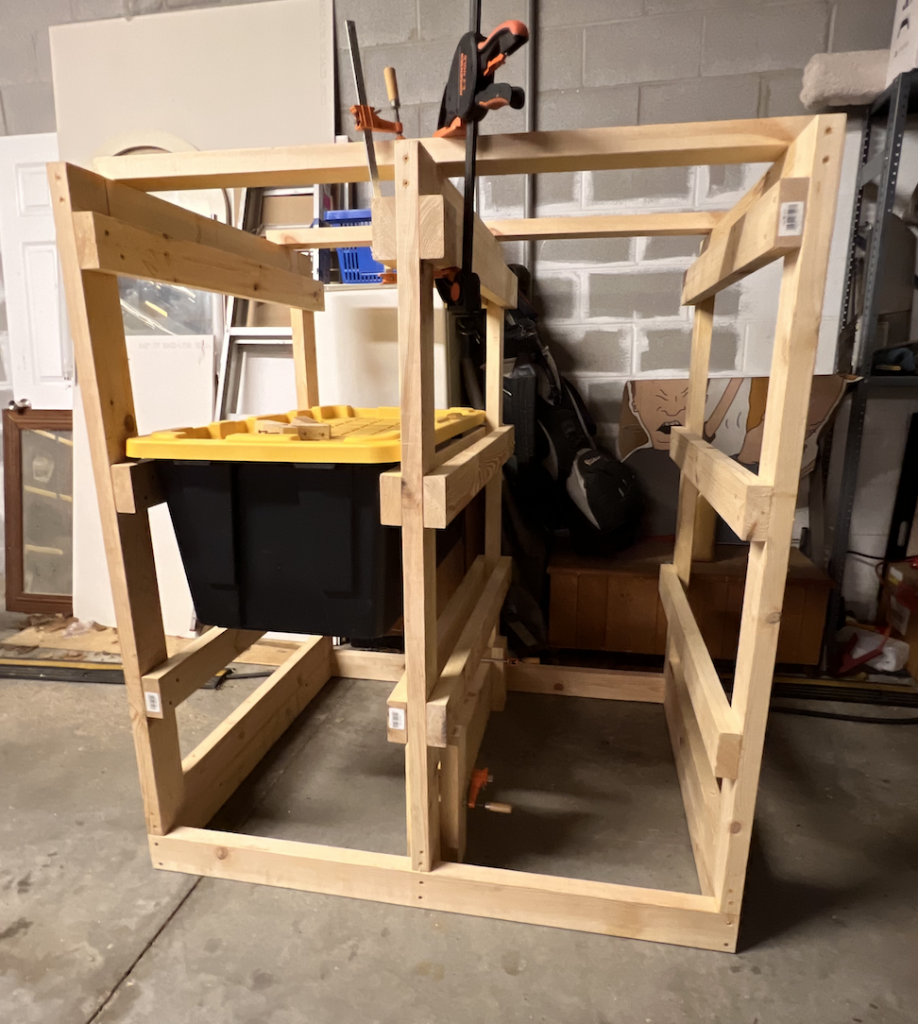
It was an ask from my family. I did the initial planning in.. code!
https://github.com/sunnywiz/openjscad_xyz_stuff/blob/costco-box/costcoBoxes.js
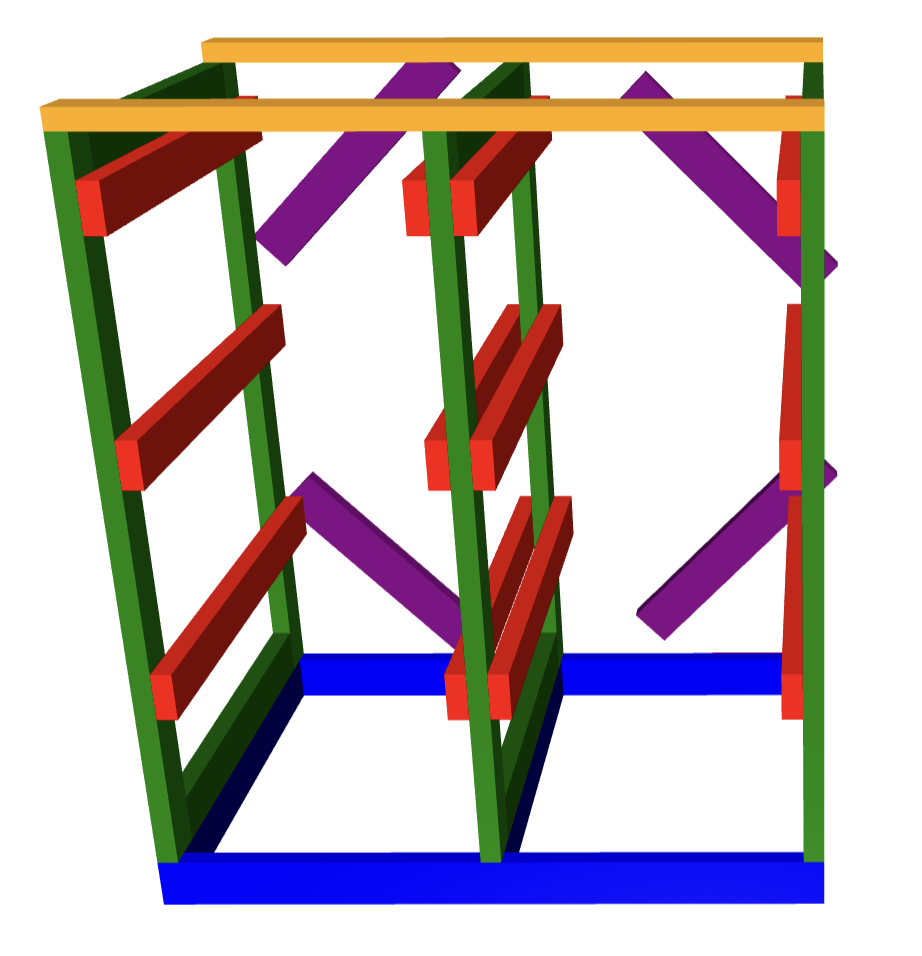
Side effect of the code is it tells me how many 2x4x8’s to buy, and attempts to plan the cuts in them:
floor 0  of length  48.5  in piece  0
floor 1  of length  48.5  in piece  1
floor 2  of length  35  in piece  0
floor 3  of length  35  in piece  1
floor 4  of length  35  in piece  2
vertical 0  of length  52  in piece  2
vertical 1  of length  52  in piece  3
vertical 2  of length  31  in piece  3
vertical 3  of length  31  in piece  4
vertical 4  of length  52  in piece  4
vertical 5  of length  52  in piece  5
vertical 6  of length  31  in piece  5
vertical 7  of length  31  in piece  6
vertical 8  of length  52  in piece  6
vertical 9  of length  52  in piece  7
vertical 10  of length  31  in piece  7
vertical 11  of length  31  in piece  8
ledge 0  of length  38  in piece  8
ledge 1  of length  38  in piece  9
ledge 2  of length  38  in piece  9
ledge 3  of length  38  in piece  10
ledge 4  of length  38  in piece  10
ledge 5  of length  38  in piece  11
ledge 6  of length  38  in piece  11
ledge 7  of length  38  in piece  12
ledge 8  of length  38  in piece  12
ledge 9  of length  38  in piece  13
ledge 10  of length  38  in piece  13
ledge 11  of length  38  in piece  14
top 0  of length  48.5  in piece  14
top 1  of length  48.5  in piece  15
There’s a bug though. I should have specified the width of the boxes as 22.5″, not 22″. Also, i had to re-measure where the rails go – ended up with the box at less than 17″, and the first rail at 15″, it was 15″, 32″, and 49″. Also, i really had to reinforce the vertical stuff so it didn’t .. parallelogram to the side.
The code is parametric of course. I plan to use the same code for the slightly smaller boxes. But i might use a smaller size of wood – this was overkill and way too heavy.