 Shapeways is one of several print services that offer full color prints – something I cannot afford myself. However, they do not allow on-site scaling – you have to scale the model yourself. There are also various cleanup steps that have to happen before shapeways will print your model. For these I use blender. (ref: shapeways page on blender editing)
Scaling, then Lighting, then Checking for Problems
Blender does not (by default) understand units of measurement; however during import, shapeways will ask what the unit is. I go with mm; I want the model to be up to 50mm in size.
 The original is starting out at (Dimensions) 0.972 (assumed mm) as its largest dimension. If I scale it up by 50, I get 31 x 48 x 40 instead. Then, very important: apply scale so that the XYZ coordinates are actually changed (some tools, like solidify, work before scaling – used for hollowing out an object).

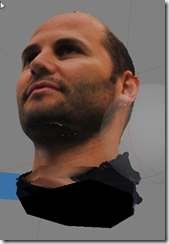
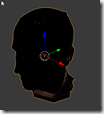 Side note if you want to check textures: A this point, the model is a bit dark as the original light is now inside the model, and not quite bright enough. I usually find and drag the Lamp gand drag it out into the open, and give it a distance for falloff of 3000 and more energy.
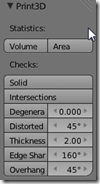
And now the fun part! Turn on the 3d printing tools (via extensions), and … don’t believe everything. But do check for minimum wall thickness of 2mm. and.. 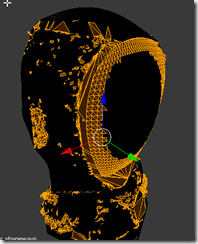 ouch. A lot of stuff. Now, Shapeways may not complain about all of this – you are always welcome to upload. In fact, I’m doing just that, to see what they will come back with.
Shapeways
False End #1: Do not export as .OBJ. Shapeways does not process the .MTL and the .PNG file, and you get no color. Instead, try .X3D.
If you open the .x3d with a large-text-file editor (like notepad++, or even in blender), you’ll find that it has a reference to a texture file with a different name:
Be aware of it – zip both the .png and the .x3d file into a .zip file for upload to shapeways.
After the file uploads and gets processed (30 seconds?), you get this screen:
And if I scroll all the way down, to the interesting stuff – Full Color Sandstone:
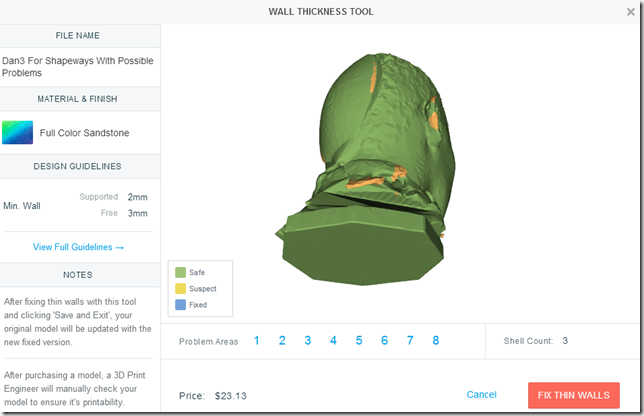
First, $23.13 .. OUCH. Second, Thin walls. It’s a link. Follow the link.
As you can see, this is not the sea of yellow that we saw earlier. But, it also has this “Fix Thin Walls” button.
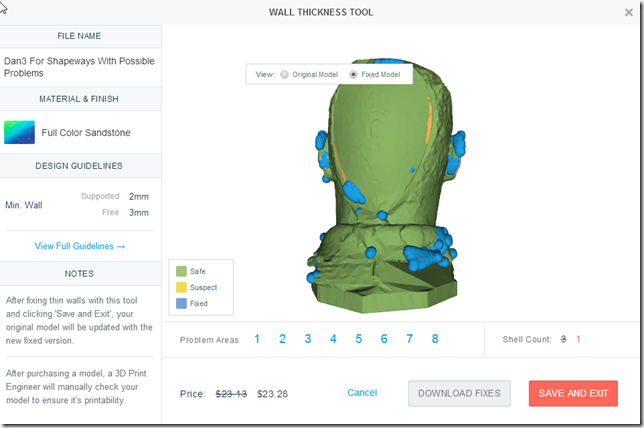
Oh my, we gave Dan the pox. Well, no big deal, lets print that anyway …
But now we have lost color. No deal. Back to fixing wall thickness in blender (and reducing the size of the model!)
