First, what are the actual measurements we must match? Taking multiple measurements: 
- A: Diameter of a nubby: 4.92mm, 4.90, 4.89, 4.89
- B: Width and Length of a 2×2 square: 15.84mm, 15.89mm
- C: Height of a brick (ie, 3x a thin): 9.57mm, 9.59mm
Then, using NetFabb against the model (click image to for link to ThingiVerse): 

- A: 4.8mm
- B: 15.8 mm
- C: 9.6 mm
My guess is that they reduced the size of the nubby because it would ooze a bit; the other two dimensions appear to be about right.
And the printed out ones:
| Slice | Scale | Flowrate | A | B | C | Fit? |
| 0.3mm | 1.0 | 0.6 | 4.67, 4.82 4.69, 4.79 |
16.07 15.93 |
9.64 mm | Very Loose |
Interesting! The nubbies are coming out a bit smaller, but the part is a bit bigger. The height is within 1 layer of where it could or should be.
Now, I want the part to print out nice and snug. Its hard to measure, but it looks like the receptor diameter for tne nubby is about 4.8mm – ie, they’re using a flex of about 0.1mm to keep things snug. So, I want to print out with a diameter above 4.8mm.
Lets try something at Flowrate 0.65, just to see what happens:
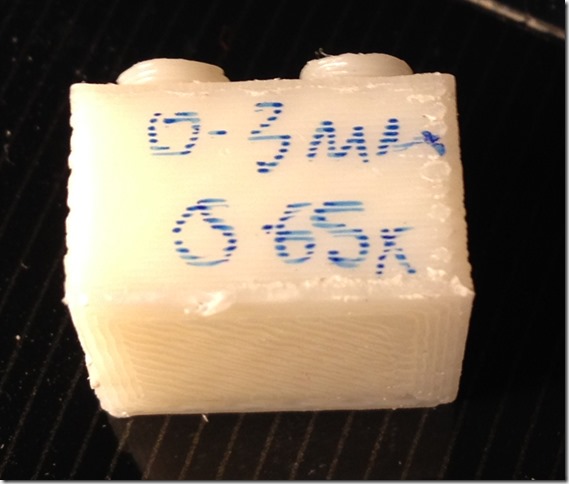
| Slice | Scale | Flowrate | A | B | C | Fit? |
| 0.3mm | 1.0 | 0.65 | 5.02, 4.8, 4.95, 4.86 | 15.93 15.84 |
9.73 | Pretty good! |
And what do you know! It fits! Pretty snug-gly!
Although, due to a hole in the original .STL file, the entire bottom of the piece got replaced with a solid face.
Mission Accomplished. 0.65 might be the answer, although it disagrees with the single-wall-thickness calibration.


