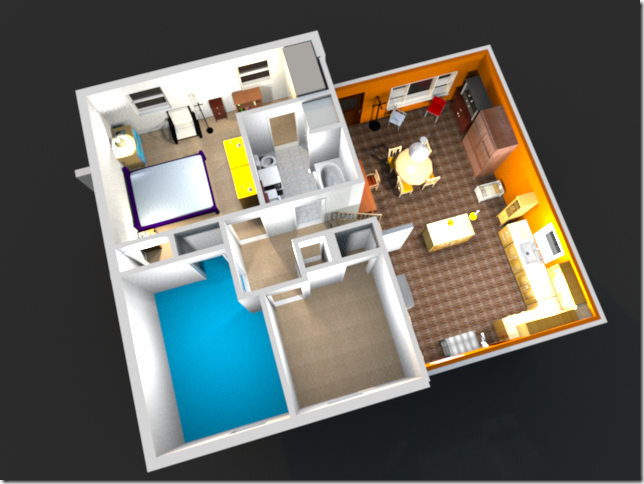
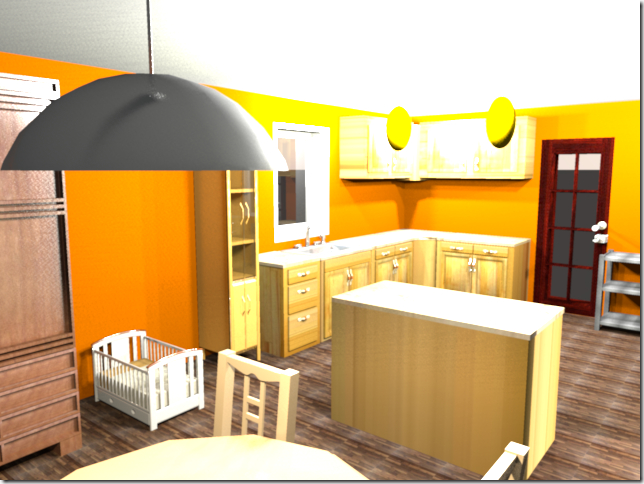
 A project I’ve always been kicking around (ever since I bought my first mobile home in 2000) is to create a scale model of the space I live in.
- In 2000, I did it with graph paper and cut-out pieces of cardboard to represent furniture.
- In 2007, I did it with Lego’s. I wish I still had a picture of it, but they got lost somewhere in Photobucket. land.
- In 2008, I used Sketchup to plan our Kitchen remodel.
Well, the urge came back up again – and this time, the other urge is to use a 3D printer to print out either the model, or the furniture which goes into the model, or both.
Research
So I started researching. Here are the nuggets I’ve learned:
- Sweet Home 3D makes wonderful 3D models of the interiors of houses.
- It only exports to OBJ format
- The models it generates are non-manifold.
- The furniture it places tend to be non-manifold.
- Most 3D print software reads STL. Or so I thought.
- Turns out that’s still mostly true; many of them convert to “GCODE”, but Makerbots use something else called “X3G”.
- Meshlab can read in, and write out, many different formats, and can detect non-manifold edge problems.
- It crashes pretty often.
- It has code which can be used to fix meshes, but I don’t know to use it yet.
- Netfabb Private can read in STL files and do some mesh repair work.
- Some of the sweetHome3D outputs are too complicated for it.
- Very juicy program. If I keep doing this, I might buy their pro version.
- Netfabb Cloud fixes even more stuff.
- If you’re looking for some frickin’ cool math, PolyMender is pretty neat:
- Imagine filling a model with 2^N little squares.
- Draw the model, filling in the squares
- Just using the squares, recreate the model.
- Its garunteed to be manifold.
- The output was somewhat choppy for my purposes though; and the resulting files when given enough resolution (N=8,9) were too large for the 3D print software.
- Sketchup is no longer part of Google, but still has a free editor.
- To which you can add an extension (.rbz) to Import/Export to STL.
- However, it can generate surfaces with problems. Not necessarily Manifold problems.
- But if you take care while editing your model, these problems are the types that can be automatically fixed by Netfabb.
- Repetier-Host is a program used to control Solidoodle’s and several other 3D printers.
- It will detect Manifold and intersection problems
- It will run Slic3r to generate G-Code to drive a printer
- You can view the resulting G-Code and get a feeling of overhangs, support material, infill, etc.
- The List of 3D printers
The end result is, while I’ve got a pretty decent rendition of the house in Sweet Home 3D, it is far too difficult to convert it into a 3D print at this time.
Plan B. Using Foam Core Board.
Check out this video:
[youtube=http://www.youtube.com/watch?v=S4UchgSDeCA&w=448&h=252&hd=1]
Captions are Captives
Its about furniture building, but what I’m thinking is, I would use the technique to build the model, and then use 3D printing to create a framework so that I can assemble the different floors of the model into a house (think spacers, building a framework to nest other components, etc).
I would also use 3D printing to print out some of the more interesting furniture (though, for square things, I’d just use Origami).
The advantage here is I can then take pictures of textures and glue them appropriately – and given the speed and cost of 3D printing, its probably cheaper.
About that 3D Printer
I was all excited, and about buy myself a Solidoodle 2 – however, somebody had once mentioned the local hackerspace LVL1 to me. I decided to go check them out. Separate blog post on that. Chances are, I’ll probably get a membership to them instead*, and use their printers. And possibly some of their other stuff.
*POINT: Don’t need a membership to use their resources. They are very proud of that. However, given that everybody likes 3D printing, the times when they are open to non-members = contention for use of the 3D printers, and they are 20 miles from home, so a membership will ease the access part of the equation.


