From Photoscan to Shapeways: Process 2/N

TL;DR:  Nice idea, but fail.

Holy crunch this is taking a lot of hands on stuff figuring out what works, and what doesn’t.   I decided to step back and take a look at the strength / weaknesses of everybody and see if I could meta a process out of it.

Program Strengths Weaknesses
Agisoft Photoscan Can fill holes; gets normals correct when filling holes
Can Export and Import .OBJ
Can Export and Import WRL
Unique: can create textures from images
Cannot select only visible surfaces for deletion; has to select hidden as well
Can only close holes; does not always generate manifold
Cannot export STL
Cannot resize
Import object cannot have been moved
Netfabb Great job filling holes
Can detect non manifold
Unique: Very good at making things manifold automatically
Import/Export OBJ, STL, WRL
Can resize
No direct mesh manipulation
Free version cannot remove extra shells
Blender Unique: Can do union operations to add missing chunks together
Can detect non-manifold very well
In depth mesh editing
Can resize
Thin wall detection
Import/Export OBJ, STL, WRL
Can remove extra shells
Fills holes with akward normals
Cannot auto-fix manifold
Deleteing faces causes complex manifold problems which escalate quickly
Windows / etc Can ZIP files heh
Shapeways Import texture with ZIP files
Thin wall detection
Unique: Can print in color!
Cannot directly import multi part objects unless ZIP first
Cannot resize
Thin wall fixes loose texture
Cannot get texture when importing OBJ

Proposed Flow

Agisoft
  • Generate mesh
  • Save as A.obj
  • Use circle and block delete to remove chunks to be replaced in blender
  • Save as B.obj
Netfabb
  • Import B.obj
  • Fill holes / clean up / repair
  • Save C.obj
Blender
  • Import A.obj
  • Import C.obj – should be manifold
  • Create additional surfaces D1,D2 etc to union using A for reference
  • Union them with C <– not sure if this will work every time. 
  • If it works, save as F.obj
  • If unioning does not work, then:
    • Import B.obj
    • Prune surfaces D1,D2 etc so that there is no overlap with B
    • Create faces to join B and D1,D2 etc so that a fill holes will do the right thing
    • Save as E.obj
Agisoft (if stuck at E)
  • Load E.obj
  • Fill holes
  • Call this F.obj
Agisoft
  • Load model from F.obj
  • Generate textures
  • Export as G + GT (.obj)
Blender
  • Start over
  • Load G + GT (.obj)
  • Relocate, Orient
  • Scale, Apply scale
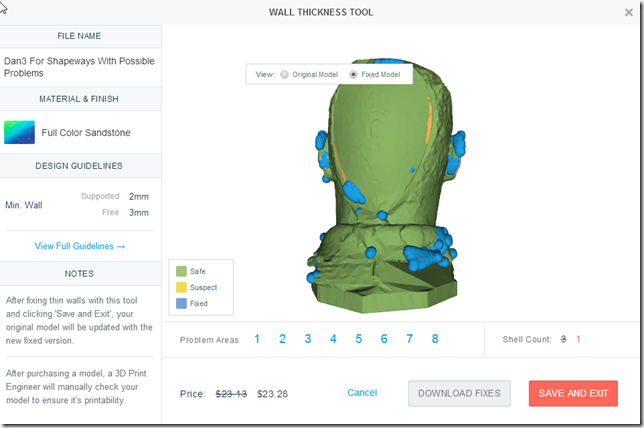
  • Thin wall detect
  • Save as H  + GT (.X3D)
Windows
  • Zip H+GT to HZ
Shapeways
  • Upload HZ
  • Look at thin walls situation -> leave open
Blender
  • Fix thin wall situations (and other problems)
  • Save as I + GT (.x3d)
Windows
  • Zip I+GT to IZ
Shapeways
  • Replace with IZ
  • Hopefully can print.

Wow, that’s a lot of steps.   No wonder I’m a bit frustrated.  

Update as of 6/1 (3-4 days after writing this): 

I tried it.  Twice.   5 hours later: It’s a fail.     The reason is that:  When I get to step G->H in Blender – when I do any fixes in blender – if those fixes involve cutting away dead faces and closing holes or anything like that – I loose texture.  As I usually have to do this surgery around places where I filled it in during step C+DN, Its all over the model, and It would look ugly.

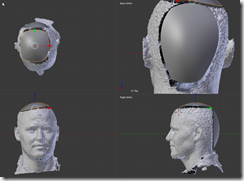
However, I did learn a bit about fitting NURBS spheres onto human faces.   You go into Alt-Q 4-way view (Top, right, front), and first fit the edge pieces (where the surface comes all the way out to the control point); before going on to the other bits.  In the case of a human head, the anchor points are:  just above the ears, an imaginary line going back from the chin, just under the nose, etc.    This could be its own blog post, but I’d need more practice to verify that it works well every time. 

Next up I’m going to try a much-reduced polygon count – get rid of some of this detail that causes the thin walls.  The idea would be to use color and texture to make it look like the human.
From PhotoScan to Shapeways: 1/N – Using Blender as an intermediary

imageShapeways is one of several print services that offer full color prints – something I cannot afford myself.   However, they do not allow on-site scaling – you have to scale the model yourself.    There are also various cleanup steps that have to happen before shapeways will print your model.  For these I use blender.  (ref: shapeways page on blender editing)

Scaling, then Lighting, then Checking for Problems

Blender does not (by default) understand units of measurement; however during import, shapeways will ask what the unit is.  I go with mm; I want the model to be up to 50mm in size.

imageThe original is starting out at (Dimensions) 0.972 (assumed mm) as its largest dimension.  If I scale it up by 50, I get 31 x 48 x 40 instead.    Then, very important:  apply scale so that the XYZ coordinates are actually changed (some tools, like solidify, work before scaling – used for hollowing out an object).

imageimageSide note if you want to check textures: A this point, the model is a bit dark as the original light is now inside the model, and not quite bright enough.   I usually find and drag the Lamp gand drag it out into the open, and give it a distance for falloff of 3000 and more energy. 

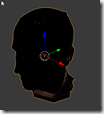
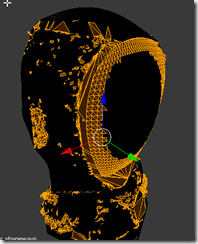
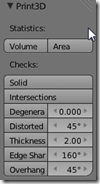
And now the fun part!  Turn on the 3d printing tools (via extensions), and … don’t believe everything.  But do check for minimum wall thickness of 2mm.  and.. imageouch.  A lot of stuff.     Now, Shapeways may not complain about all of this – you are always welcome to upload.  In fact, I’m doing just that, to see what they will come back with.

imageimage

Shapeways

False End #1Do not export as .OBJ.   Shapeways does not process the .MTL and the .PNG file, and you get no color.  Instead, try .X3D.

If you open the .x3d with a large-text-file editor (like notepad++, or even in blender), you’ll find that it has a reference to a texture file with a different name: 

image

Be aware of it – zip both the .png and the .x3d file into a .zip file for upload to shapeways.   

After the file uploads and gets processed (30 seconds?), you get this screen:

image

And if I scroll all the way down, to the interesting stuff – Full Color Sandstone:

image

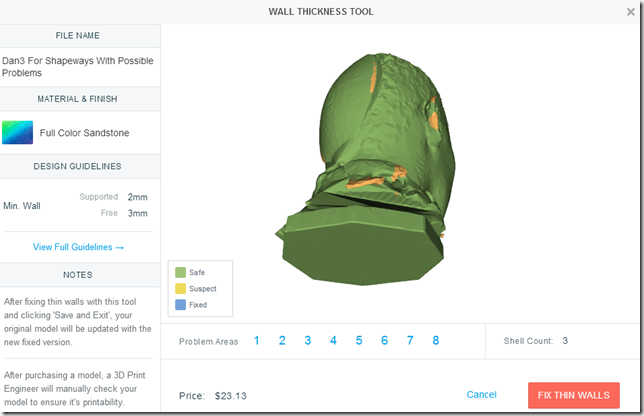
First, $23.13 .. OUCH.    Second, Thin walls.  It’s a link.   Follow the link. 

image

As you can see, this is not the sea of yellow that we saw earlier.   But, it also has this “Fix Thin Walls” button.

image

Oh my, we gave Dan the pox.  Well, no big deal, lets print that anyway …

image

But now we have lost color. No deal.  Back to fixing wall thickness in blender (and reducing the size of the model!)

Photoscan: Using Blender as an intermediary touch up tool

I’m glad that I have a solution (use a good camera and lens) for capturing 3D models – but I’m still trying to get the process matured – to the point where I could run a scan-and-print booth at a flea market.  (not that I’m going to; I’d just like to be that good at it).

The Problem: No Noggin

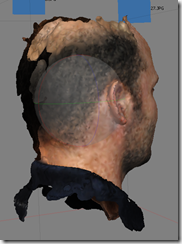
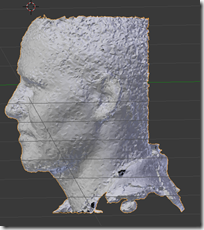
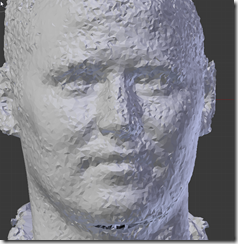
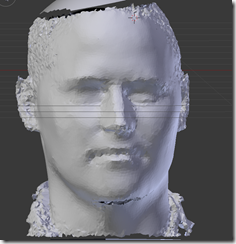
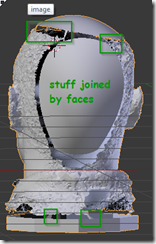
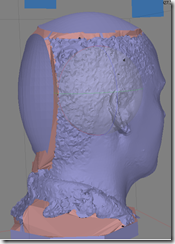
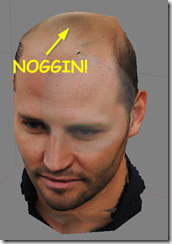
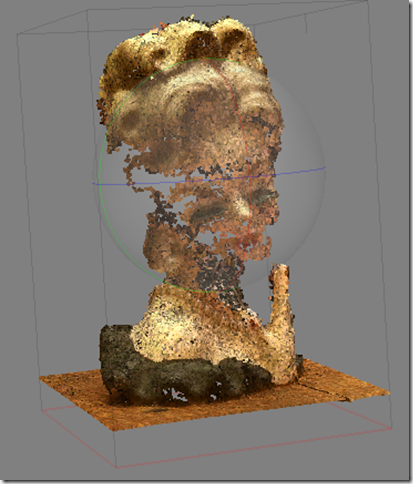
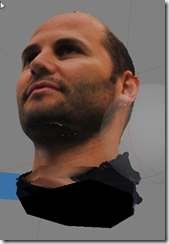
imageThis is a DSLR Dan Scan with a Medium Dense Point cloud on Moderate (Ultra high didn’t really add to the detail).  The top of the head is missing, and there’s a large seam in the back that is not filled.  Also, the bottom isn’t a good base for a printed model.

The Solution:  Blender!

image image

image

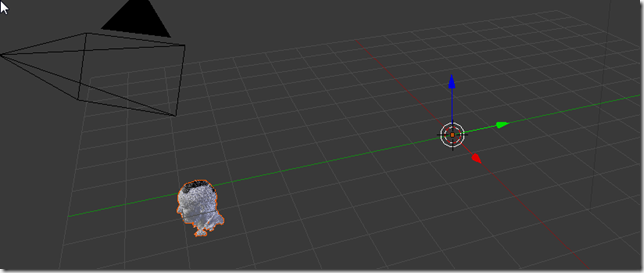
It is important to leave the model where it comes in – I have to export it at that exact spot in order for Photoscan to pick it up.   Luckily, I can select the object and zoom to it using “.” on the keyboard. (Blender: shortcuts keys are dependent on which window is active, it has to be the 3d window for . to work)

I then remove stuff from the model, and add in some more surfaces (NURBS surface shown here), to get the model closer to what I want:

a image b image c image

d image e image f image

  • a: I use perspective + border select + delete vertices to clear away an even cut which I will augment with a surface.
  • b,c: I create (separate object) a NURBS surface with “Endpoint=UV”; I fit the outer borders first (so that there is a little gap showing) and then move the inner points (how much it sticks out) in; I try to ensure there’s always a gap between the actual model and it (easier to join later)
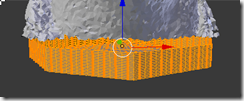
  • d: For the base, I create a square (cylinder would have been better?), move the edges in, and then delete the top surface.   I subdivide till it has the right “resolution”.
  • I then convert NURBS to meshes; select the meshes; subdivide them to match resolution, and join them everything into a single mesh.
  • e: Sometimes to avoid “helmet head” effects, I have to delete some of the edge faces of the former NURBS by hand.
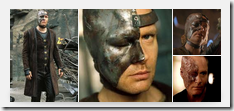
  • f: Stark from Farscape.

Another touch-up I can do in Blender is to smooth skin surfaces using “Scuplt”:

imageimage

Wrapping it up

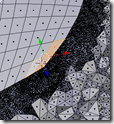
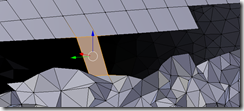
I have to join the pieces together by hand *somewhere*, so that the holes have boundaries.  Try to keep each hole in 1 axis.    Notice how I subdivide the larger mesh so that the points line up. Don’t forget to Normalize faces outward when done.

imageimageimage


I can then export the .OBJ back to disk, and in to Agisoft Photoscan, where I finish the hole-filling process.  (I’ve tried filling the holes in blender, but I run into vertex normalization / faces being inverted problems.)

imageimageimage

And then, we can build a texture, and Dan’s noggin won’t be left out.

And Now for Something Completely Different:

The other direction to go is to use a completely different mesh and see what happens:

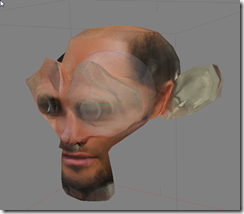
suzanne the monkey:
image

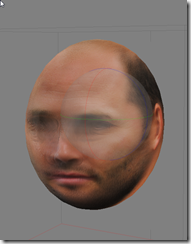
sphere scaled to head shape:
image

We could also do a Minecraft version of Dan – by joining several rescaled cubes, and then building a texture around that.  That would make for an excellent Pepakura model.   However, I’m out of time on this blog post (1h24m so far), so I’ll save that for another day.

(after editing:  1h40m taken)

Getting Photoscan to Work: 3/N

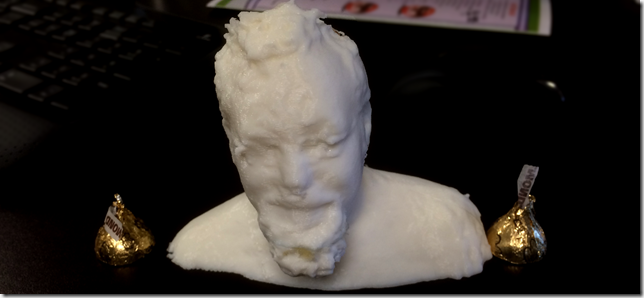
Good news!  Using a Nikon camera with a 55mm lense, I got pretty good (printable) results!

image
Subject:  Lamont Adams

Here’s how it went down:

  • I borrowed Dan Murphy’s Nikon DSLR Camera.  He had several lenses, I chose the 55mm lens (not prime; I just didn’t zoom it)
  • I sat the subject in an empty room in the center beneath four fluorescent lights.   By sitting them, they stay stiller; and I am taller, so I can get more details of their hair.
  • I started taking pictures from their back, so that the pictures across the front are contiguous / seamless.
  • I took 3 extra pictures from the front from a lower angle, to get nose and chin details
  • image
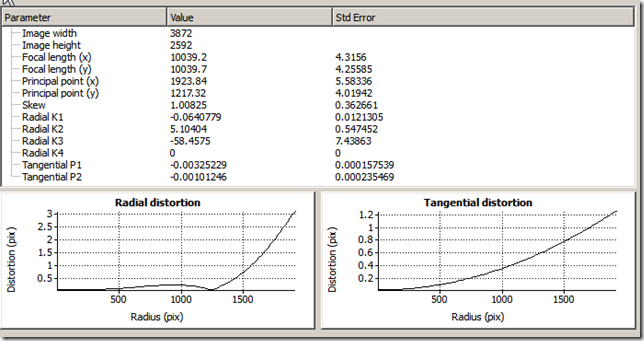
  • I took Lens Calibration pictures starting from as far away as possible; and got a lens profile.  I did not fit k4.
  • image
  • image
  • I used High accuracy matching and a Medium Point cloud; Low polygon count mesh (20k)
  • Minor editing of point cloud before meshing and closing holes (deleting floaters and fixing hair)
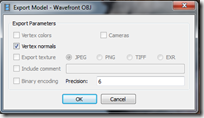
  • Export mesh to Wavefront .OBJ format; use Blender to rotate it and convert it to STL; export STL at 100x scale
  • Netfabb to clean up the STL and scale it precisely (100mm height)
  • 6 hours to print it.

I have ordered a small full color print from Shapeways to see what that looks like.    Should be here June sometime.

He looks kinda like the KFC Colonel.  What with that chin growth and all.

Addendum:   Instead of a 4/N post, I’ll just put him here:  Yellow Dan the Pirate Man with those dark sunken eyes.

image

Tired of PhotoScan, I just want it to Work: 2/N

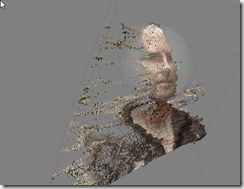
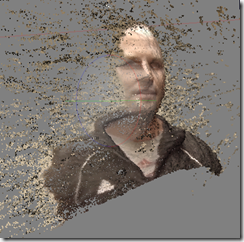
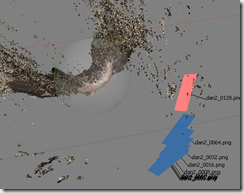
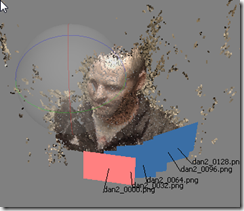
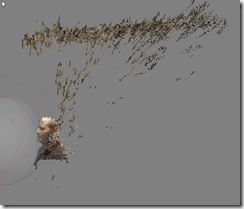
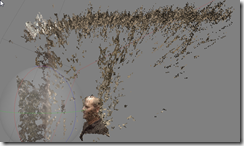
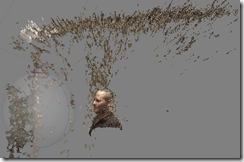
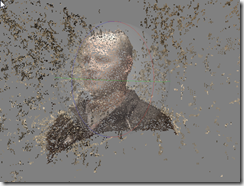
Since the last Blog post, I finished going around the object and selecting enough cameras to get a decent set of dense point cloud going.  I did this in four chunks; I was trying to quarter the model with each chunk:

image
9 cameras
1553 points
image
17 cameras
3260 points
image
10 cameras
2332 points
image
11 cameras
2575 points

Lets Align Some Chunks, Shall We?

Align Chunks, Camera Based, 1 Camera overlap

Nothing.  It needs more cameras?  I could see it being in 3 dimensions, it would need 3 cameras minimum.  I’ll come back to this with more cameras in overlap.

Align Chunks, Point Based

image

Not Quite.   And as far as I can tell, there are no manual align controls anywhere (in the non-professional version).

I could take this out to Meshlab and try to align it there, however, I won’t later be able to map a texture; I have to solve this in PhotoScan. 

Add More Cameras, Align Chunks, Camera Based, 3 Camera Overlap

While I’m at it, I also add in a few more cameras in some of the gaps that I see.  And this is what I get:

image

Queue Darth Vader Imperial March

I can tell it got the cameras correct.   However, my fear is realized:  I think as I walked around the subject, he moved slightly.  Or, my distance from the subject was not constant, so I ran into some lens calibration issues, and thus the resultant object was not mapped at the correct size.    Either way, what we have now is a FrankenDan.

image

I cannot resist.  Going all the way through to a model and texturing this beauty – and learning how to do an animation in blender at the same time —

[youtube=http://www.youtube.com/watch?v=-V4Yam2yCU8&w=448&h=252&hd=1]
Franken Dan Murphy

Attempting a single chunk with the same 55 cameras

image

What is happening is either a) the model moved, or b) I changed distance from the model (and the camera alignment is wonky), and it just cannot get the math to work.  FrankenDan is actually a better representation of the reality that was captured. 

So.. I don’t think there is a solution here, with a GoPro Hero3 walking around a subject.   There are several directions I could go, though:

  • Start from the back of the subject, so that the seam would be in the back.
  • Put markers on the person’s back (so that there is something to “fix” on), or give them a “garland” of some sort.
  • Use the 120fps to capture the model quicker; but I need to find a reliable way to spin the camera around the subject and hopefully not invoke motion blur.  (Hula Hoop Mount?)
  • Use a better camera (not a GoPro); perhaps a DSLR; with a ring laid out for distance from the subject (see teaser solution below)
  • Use multiple cameras! (so many people have had success with this – and they don’t have to be good cameras either)

Teaser Solution:  DSLR

In comparison, here is me, taken via a DSLR camera with a 50mm fixed (prime) lens.  Its not quite printable, as the (shiny? homogeneous?) back of my head failed to capture.   There’s definitely something to be said for not using a GoPro.

imageimage

Tired of PhotoScan, I Just Want it to Work: 1/N

Subtitle:  Going to ridiculous lengths to understand what doesn’t work with PhotoScan.

I took two sample videos with the GoPro a few days ago, of Dan and Rider.  I want to print a color 3D model of them (shapeways, small), just to see it done, and to have a simple process to do it.   But it keeps not quite working, and its annoying me.   So, here goes another night of experimentation.  What am I missing?

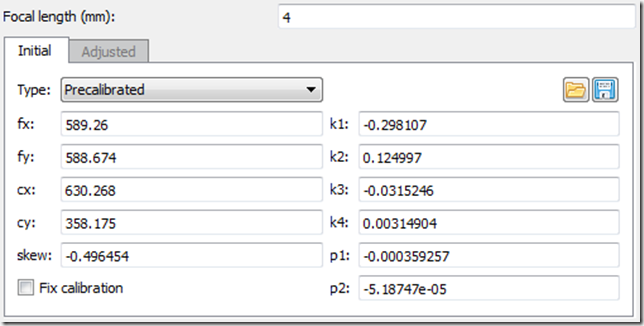
Here’s the precalibration stuff from Agisoft Lens, btw:

image

Check #1.  How much does it matter how close or how far apart the frames are?

imageI extracted out at 60fps (the video is 120fps), so I have 1400 frames in a circle.  That’s a lot of frames.

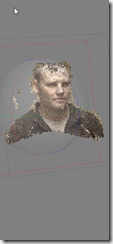
Here are sample reconstructions using just two frames – varying the number of frames apart.  I’m using 4mm as the focal length, but I will play with that in the next section.   Process:  Align on High, Dense cloud on High.    The picture on the right is what Frame # 0 looks like; the screen capture is “look through Frame 0”, zoom out to bring the head in frame, and rotate left (model’s right) about 45 degrees.


1 frame apart (cannot build dense cloud)
2 frames (cannot build dense cloud)
4 frames (cannot build dense cloud)
8 frames
image
16 frames
image
32 frames
image
64 frames
image
128 frames (cannot build dense cloud)
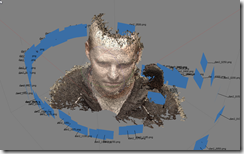
All 8 frames
image
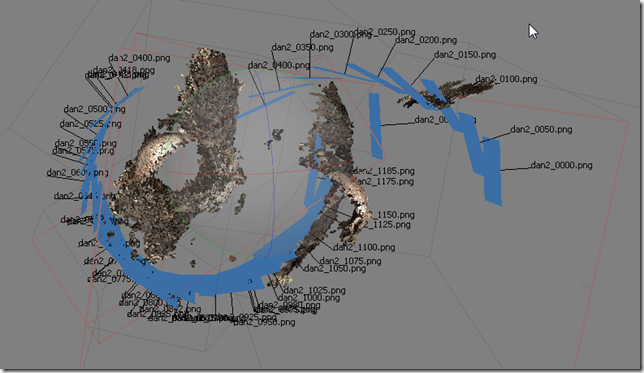
Above view, to see how the cameras are aligned
image

Clearly, more pictures is not the answer.    The best one was 0 to 32, which was about a 6 degree difference.

Check #2: Trying every 32 frames, how does adding more pictures improve quality?

This time I’m moving the camera up so I can see the “jaggies” around the edges

3 Frames combined (0,32,64):
image
4 frames combined:
image
6 frames combined:
image
7 frames combined:
image

The same 7 frames, this time with the wall in view, trying to line up the roof and the wall:

image

Check #3: Focal Length

Trying to solve for the wall jagginess.

2mm:image 4mm:image
6mm:image 8mm:  Cannot build dense cloud
5mm:image  
3mm:image 4.5:image

Okay, so .. 4.5 is wonky, but 4 and 5 are okay?   Its very hard from this angle to see any difference in quality between 3,4,5 and 6.   2, 7, and 8 are clearly out**  

Maybe another angle:

3mm:image 4mm:image
5mm:image 6mm:image

** Or maybe 7 is not quite out yet.  Turns out, I can “align photos” once.. get one result.. then try aligning again .. and get a different result.   So I retried 8 a couple of times over, and I got this:

image

None of this is making any sense to me.   I guess I’ll stick with 4mm, for lack of a better idea.  Do you see any patterns in this? Moving on.

Check #4:  Low, Medium, High Accuracy?

I’ve bumped it up to 17 cameras (32 frames apart).  Testing for “Align Photos” accuracy (Low, Medium, High) + Dense Cloud accuracy + Depth Filtering

High, High, Moderate
image
Low, Low:   Cannot build dense cloud.
Medium, Medium, Moderate
image

High, Medium, Moderate
image
High, High, Mild:  (Mild took around 3 minutes)
image
High, Ultra-High, Aggressive:  (12 minutes)
image
Close up of H/UH/A:
image

Aggressive is definitely the way to go; however, there are still way too many floaters!

image

Ah, but this image might clear that up a bit.   It has to do with the velocity with which I was moving the camera.  I slowed down.  Hence several of the frames are not very far apart.   I might need a different approach for frame selection.

Test #5: Compass Points Approach

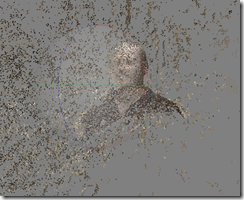
imageimageI will attempt to bisect angles and derive frames in that manner.  Note that I’m not going to try the full 360 – I suspect that the subject moves a bit, so it can’t connect 359 back to 0;  instead, I’m hoping to get a nice 90 degree profile, and maybe merge chunks to get it down to a single model.   So lets try to get a set of frames from the image on the Left (000) to the image on the Right (400).

  • 0,200,400 – Aligns 2/3
  • 0,100,200,300,400 – Aligns 5/5, but fails to build dense cloud
  • 0,50,100,…,350,400:

imageimage

I have to cut this blog post short here – it looks like I have WAY too many images, and Live Writer is freaking out.   Doing a quick edit past, and then posting this as a part 1/N.

More Photoscan Experiments

I need to wrap up this subject soon.  But every time I visit a thread, I seem to open several others.   This is about point and model reconstruction in Agisoft Photoscan.

My Goal

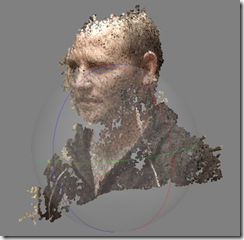
imageI want to be able to create realistic busts and maybe even poses of people, in full color, that I could 3d color print (via Shapeways, etc).  (Here’s a professional company doing the same thing: Twinkind, $300, including visit to a studio.) In order to do this, I need to grab the frames very quickly, so keep trying to use a video camera to grab frames and then pull data out of the video.  That’s not working too well for me.

Original, for reference, is on the right.  Lucille Ball?

Two Attempts Contrasted:   (Dense Cloud, because it shows imperfections well)

iPhone 5s, 26 pictures:

image

  • The subject is in focus
  • There’s a lot of resolution which leads to accuracy in 3D space
  • If you miss a shot from an angle, you are S.O.L.  For example, I don’t have her right ear.
  • Takes a while to take the pictures  This one took 2 minutes and 30 seconds.  I had to click to focus each shot. And the subject must not move.
  • I don’t think I used calibration (taking picture of a grid, use Agisoft Lens to generate camera model) for this, it could get it from EXIF data, and it did a very good job at that.

JVC Everio HM1 1080p Video Camera, 0:47 seconds

image

  • Extracted at 5 frames per second to 247 frames.
  • I actually did two passes around the subject, so really about 20 seconds would have sufficed.
  • Lower resolution on the pictures, so the 3D is blockier (I think).  And more depth errors.
  • a lot more processing time.
  • I did use Agisoft Lens to calibrate this.

GoPro Hero 3 Black 1080p Medium FOV

  • I don’t yet have decent results with this.  I think I need to do some calibration with it first, then I might retry.   Different post…

iPhone 5s Video

  • I also need to go back and try this using the quality estimation technique listed below to find the best frames.   However, the data rate is much lower than the JVC, and I’m pretty sure artifacts will be a problem.

Red 5 Diamond

  • Heheh.  I have a film friend who raves about this camera.  Nope, I don’t have one.  Smile 

More on Using Video

The workflow is not obvious, so here’s what I’ve found. My apologies for all the paid-software here, but dude, I have things to solve, and I don’t have the time to fart around hunting for free solutions.

  • Use Adobe Premiere Pro, Export to PNG, “Entire Sequence” to extract the frames.   It takes a while.  (click to zoom in to these screenshots).  This gives much better frames than using VLC to automatically extract frames.  
    • image
  • Load all the frames into Agisoft PhotoScan.  But you can’t process them like this.  I once tried 1183 frames of a prius, and after a weekend, it was still only 10% done.
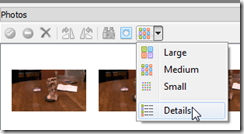
  • On the Photo’s tab, select “Details”.  I didn’t even know that existed till I read the advanced documentation… 
    • image
  • select all (click, Ctrl/A), right click, “calculate image quality”
  • Sort by Quality, skip over the best 100 frames or so, and the rest, select and disable camera (or delete)
    • image
  • Run the first pass over the 100 or so “good” cameras that are left,  and then look at where it placed cameras.   (I would show a screenshot, but I FORGOT TO SAVE.)  Abberations should stand out (not be in a smooth line of frames), and should be easy to grab and exclude.

Conclusion

I don’t yet have a solution for what I want, but I do have a solution for a model good enough to create a pepakura for.     Maybe in the future I can have an array of cameras.. that’s what the pro’s like TwinKind use.  I’m not a pro.   

I might need to try this with “sport” mode + burst (click click click) using a DSLR camera.